Creating a Graphic Novel: How I Make Super Sidekicks
Published on: 27 August 2020 Author: Gavin Aung Than
I'm so excited to hear that my graphic novel Super Sidekicks #1: No Adults Allowed has been chosen as a Bookbuzz book this year! If you love graphic novels, superheroes, action, fun and adventure, then this is the series for you! Here's a quick breakdown of my cartooning process.
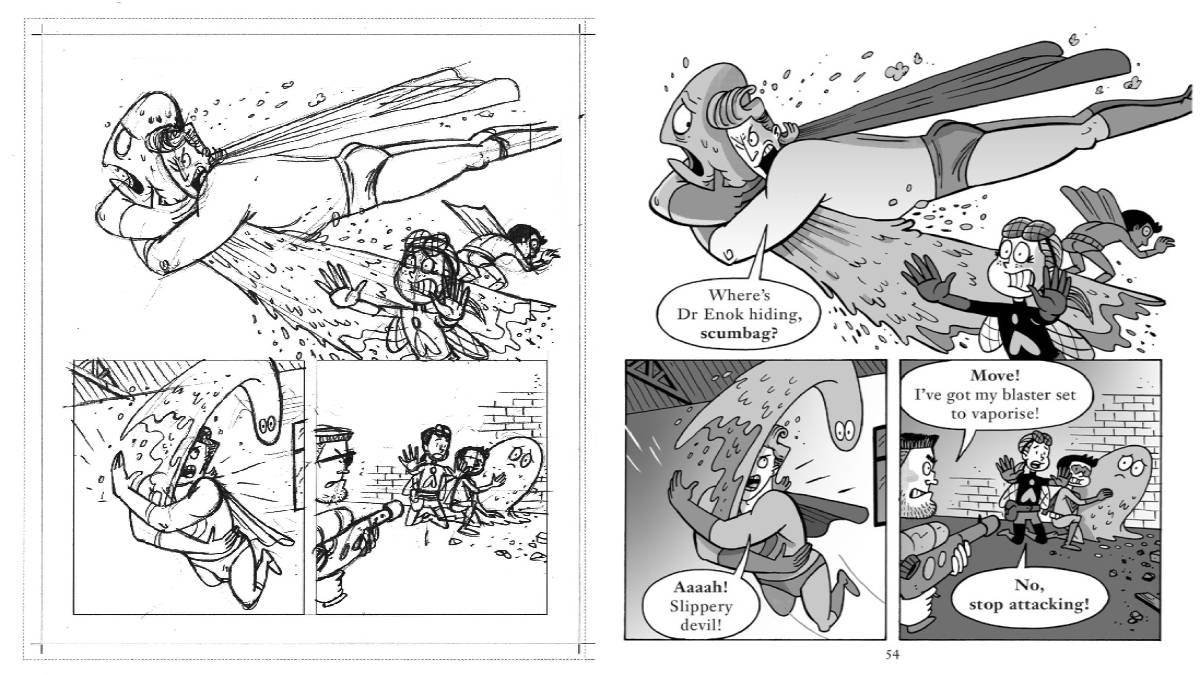
STEP 1: Storyboard & Script
Ok, the hardest part of the whole process is this one, writing the script and storyboarding the entire book. Although I’ll be showing you page 52, the left hand page, I always storyboard two pages together as a spread. This allows me to balance the spread as a whole. I always write the script and storyboard at the same time, but I think storyboarding is the more important step. Since comics are a visual medium, the images, pacing and balance are very important. The goal is for the reader to know what is happening even with no words or dialogue. This step is difficult because it’s like figuring out one massive jigsaw panel - which panel needs to go where, how many panels do I need, which character needs to be standing in a certain position, ending the page on the right panel so it leaves the reader in suspense and eager to turn the page. Lots of decisions are being made.
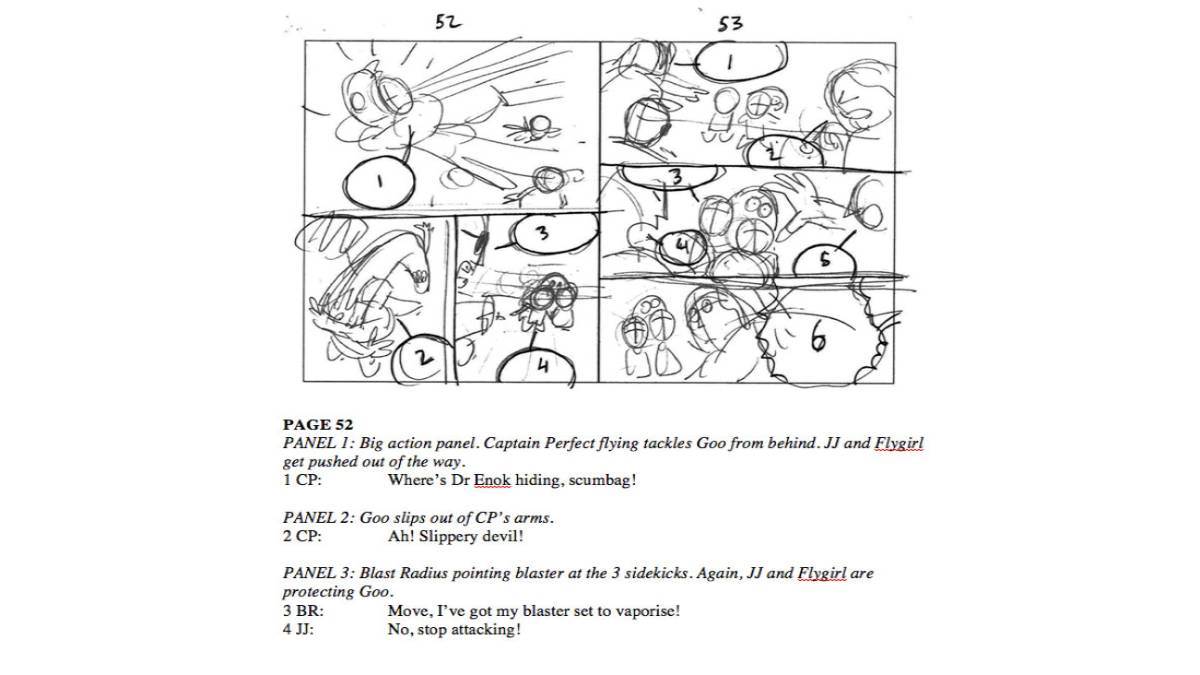
You can also see I'm already figuring out where the speech balloons need to go. They are an important design element in comics and should be treated as such. Having a balloon in the wrong place can break the flow of a reader's concentration and pull them out of the story. We don't want that!
Once the whole book is done like this, I send it to my editor for approval
STEP 2: Penciling
Now the fun can begin! I draw the page just on regular photo copy paper at A4 size using a 2H pencil lead. I try to pencil loose and fast and not worry too much about mistakes. I'm aiming for funny expressions, lots of movement, action and energy!
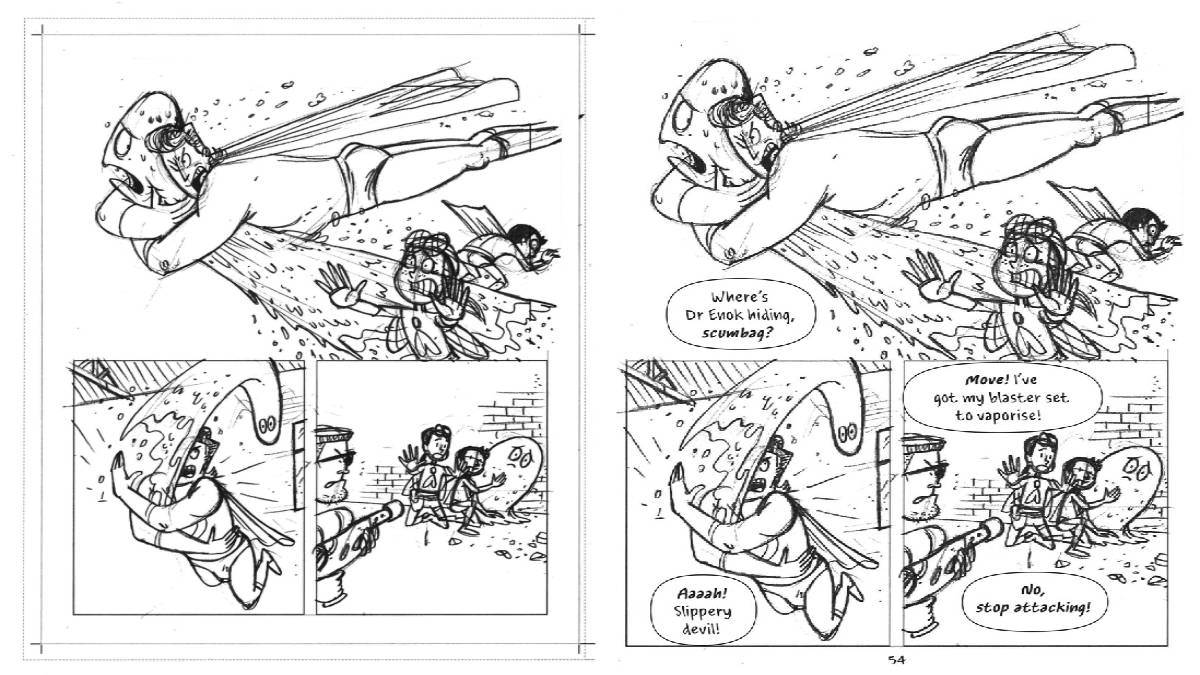
Once the pencils are done, I scan the drawing into my computer. Next I use Adobe InDesign to place the words on the page (this is the not fun part!). Once the whole book is done in this way, I send it to my editor again for another round of approval.
STEP 3: Inking
Once the pencil stage is approved I can move on to the next stage: Inking! I do this the traditional way, with good ol' pen and paper. Before I begin inking, I turn the pencils and words into a light blue colour using Adobe Photoshop. Then I print that on some nice drawing paper. That gives me a nice light blue guide that I can ink over. I use Pigma Micron pens and a Pentel Pocket Brush Pen. This is the longest part of the process.
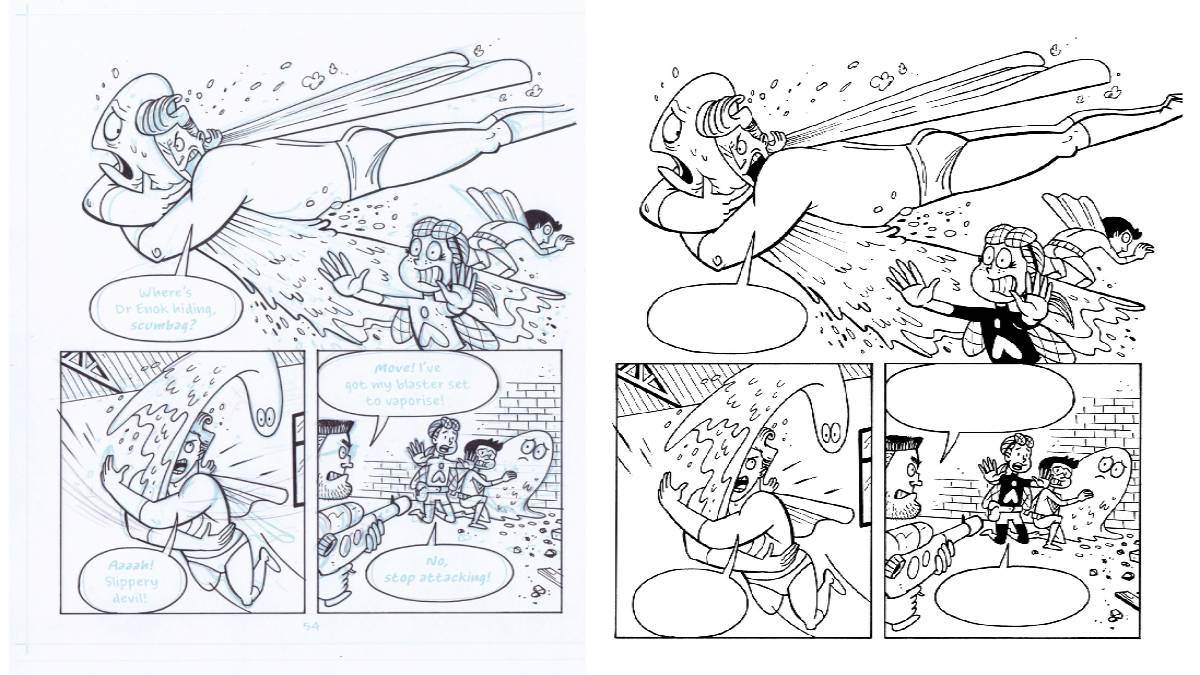
Once the inking is done, I erase any pencils and then scan the page. The rest of the page will be completed digitally.
I open up the image in Adobe Photoshop and clean up the page if there are any mistakes or wobbly balloons that I'm not happy with.
STEP 4: Colour
Well, not really colouring in the Super Sidekicks case, it's just some grey tones :) This is all done in Adobe Photoshop. You can visit my website for an in-depth tutorial on how I digitally colour comics.
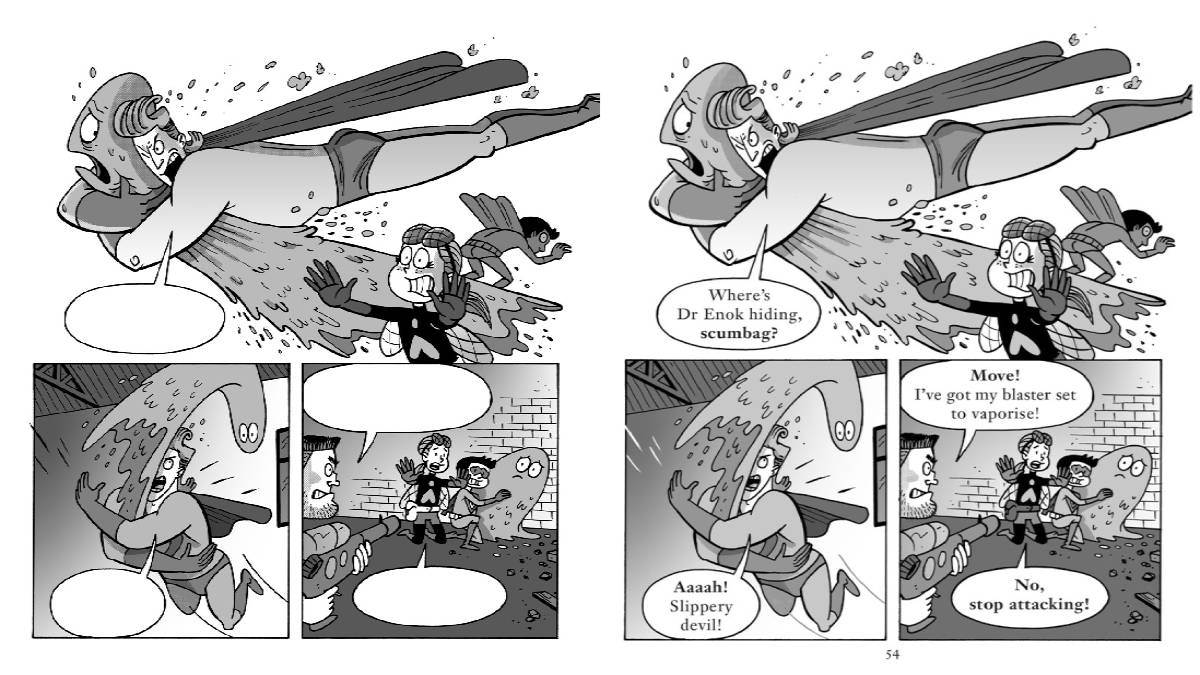
And that's pretty much it! I place the Photoshop image into the Indesign file that had all the words in it before sending to my editor again. You can see what we changed the font to a more traditional serif font.
Yay, one page done, another 136 to go!
